Invitations Galore
I made everything you see on this page, although some of the templates were taken from other brides on The Knot and tweaked a bit. Enjoy!
Fonts can be found on the "Paper Stuff!" tab if you need them (and you will if you download my templates).
May 20, 2010: THEY'RE DONE!! Stamped and going out today! Whoohoo!
Fonts can be found on the "Paper Stuff!" tab if you need them (and you will if you download my templates).
May 20, 2010: THEY'RE DONE!! Stamped and going out today! Whoohoo!
Pocketfold Invitations Instructions
My materials are my own, but the instructions are straight from another Knot member's (AmandaSW's) bio. I wanted to save them here in case she ever takes her bio down, so I would have them and others could see them if they wanted, so enjoy.
Step 1 - The materials
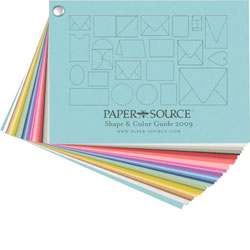
Paper: I made mine out of 12"x12" Paper-Source cardstock. This is a good quality paper with the color all the way through (unlike scrapbook paper which, when cut, shows white), it comes in a variety of colors, and I ordered it online for relatively cheap with coupons, etc. Mine is the color "Night."
Paper cutter: I used the arm cutter at my office for the big cuts, and then a Fiskars paper cutter where the blade is in a track and there is a little arm that extends to make it 12". This is great for several reasons: you can switch the blade out for a scoring attachment (best invention EVER and one of the things I was most happy about with this particular cutter); you can measure the length of each cut precisely and only cut part-way into the paper; it's not very expensive ($20.00 at Hobby Lobby); and it's not bulky. DON'T SKIMP ON BLADES. When the blade starts to dull, change it. You will regret not doing this when you realize later that some of your ends are ragged looking.
Tape: I used the basic Scotch permanent double sided tape to secure my pocketfolds, and removeable glue dots for the tab that keeps it all together.
You will also need scissors handy to cut out small pieces.
Step 2 - Cutting and Scoring
Step 1 - The materials
Paper: I made mine out of 12"x12" Paper-Source cardstock. This is a good quality paper with the color all the way through (unlike scrapbook paper which, when cut, shows white), it comes in a variety of colors, and I ordered it online for relatively cheap with coupons, etc. Mine is the color "Night."
Paper cutter: I used the arm cutter at my office for the big cuts, and then a Fiskars paper cutter where the blade is in a track and there is a little arm that extends to make it 12". This is great for several reasons: you can switch the blade out for a scoring attachment (best invention EVER and one of the things I was most happy about with this particular cutter); you can measure the length of each cut precisely and only cut part-way into the paper; it's not very expensive ($20.00 at Hobby Lobby); and it's not bulky. DON'T SKIMP ON BLADES. When the blade starts to dull, change it. You will regret not doing this when you realize later that some of your ends are ragged looking.
Tape: I used the basic Scotch permanent double sided tape to secure my pocketfolds, and removeable glue dots for the tab that keeps it all together.
You will also need scissors handy to cut out small pieces.
Step 2 - Cutting and Scoring
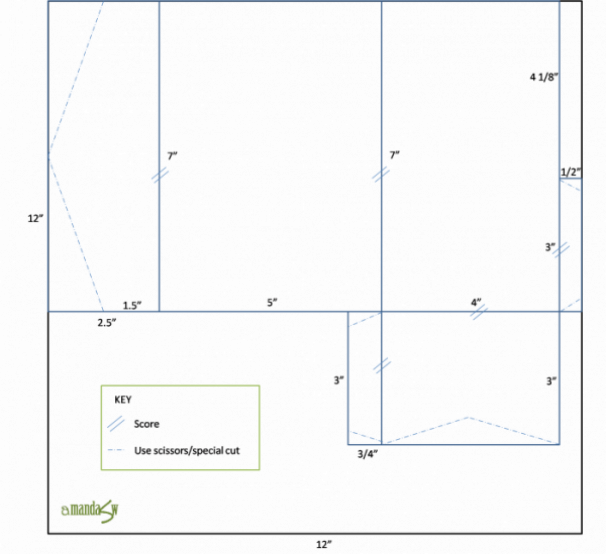
;There is a particular order these steps go in so that it's most efficient. Just to make sure we'll all on the same page... These directions are given assuming that the blade is vertical/perpendicular to your body and where "top" is farthest from you and "bottom" is closest to you. The end result is a 5x7 pocketfold from a 12"x12" piece of cardstock.
In addition, switching out your cutting and scoring blades too many times make the track a little loose, so you should do them in sets. For example, do 25 invitations at a time and cut all 25, then score all 25, then cut all 25 again. This will save you time and the possibility of hurting your paper cutter.
1. Cut off 2" so that you have a 12"x10" piece of paper.
2. Move the paper in the cutter to the RIGHT so that it measures 7". Cut up from the bottom until the blade reaches 4.5" on the track.
3. Turn the paper 90 degrees counter-clockwise. At 5 3/4" cut until you reach the point where you meet the previous cut. You should be 3/4" from where you ended the other cut, this will be one flap for the pocket.
*switch to the scoring attachment*
4. Turn the paper so that the 12" side is at the top. You will score at 2.5" and 7.5" (also score the flap at 7.5"; I usually lined it up just inside, towards the pocket since, if anything, it needs to be smaller so that it folds correctly. This would sort of be like 7.6"). At 11.5", score between 4 1/8" and 7", this is where the other flap will be for the pocket. Turn the paper so that you can score the pocket. This score should match up or be on the *outside* of where the pocket "attaches" to the main part of the pocketfold.
*switch back to the blade*
5. Now cut at 11.5" where you didn't score (you will use the scissors to cut the flap all the way out).
6. Mark in very light pencil on the outside of the cardstock where the triangle will be. It's useful to make a template for this so you don't have to keep measuring, but the center is 2.5" from the score (where you scored it) and at the sides it's 1.5" from the score. Cut.
7. Use scissors to cut the flaps for the pocket - cut them all at angles. I also cut a small triangle into my pocket. I just marked on the inside of the pocket in the center and 1/2" down.
**The reason the two flaps are different widths (one is 1/2" and the other is 3/4") is because both of them being 3/4" like they were supposed to be wouldn't fit onto a 12"x12" piece of cardstock. You could make both 1/2", but it never hurts to leave one bigger to make the pocket stronger.
The Finished Product
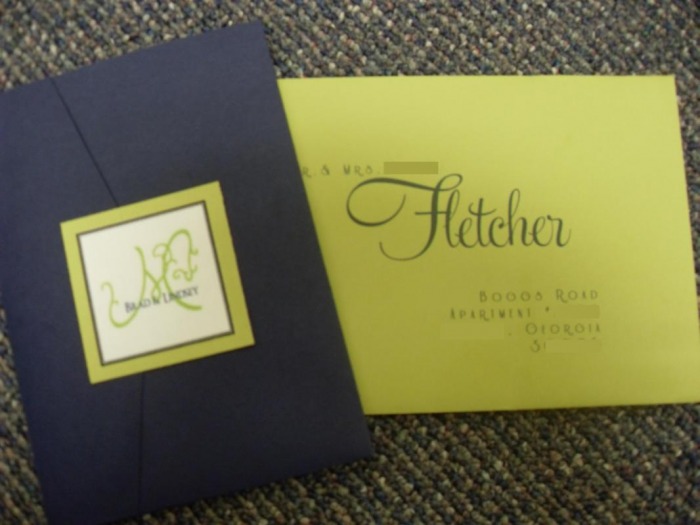
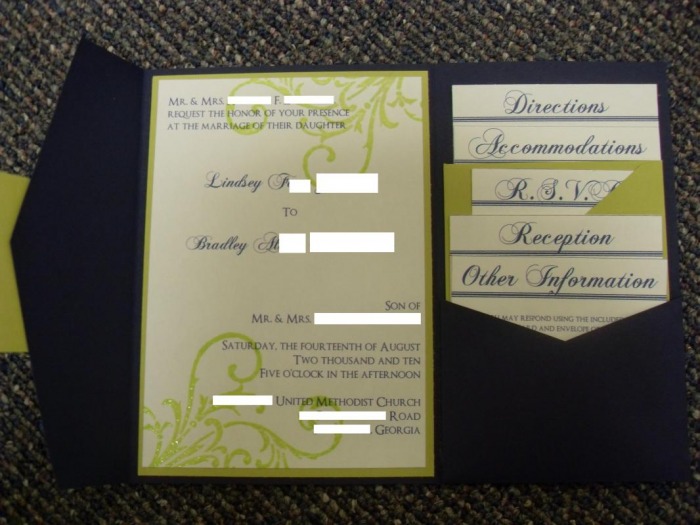
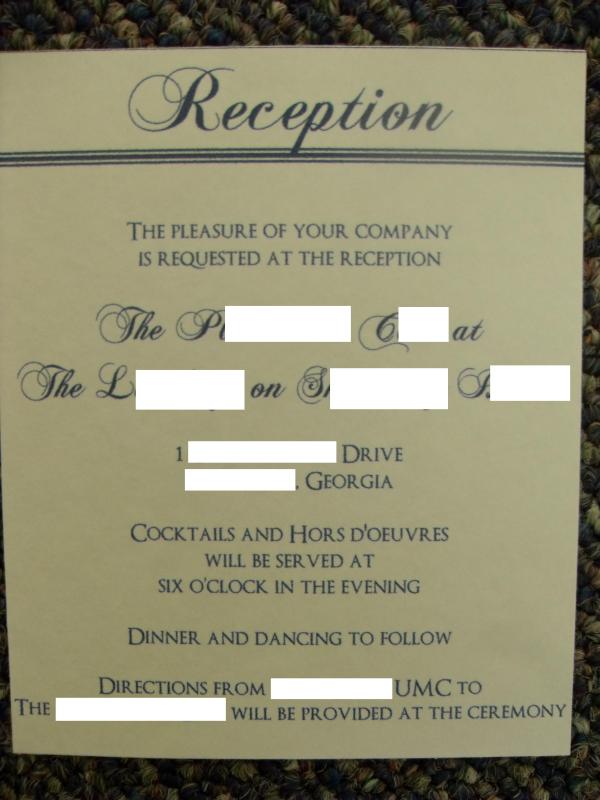
Here's a mockup of the finished product. All my templates (below) are sized to fit into this 5x7 pocketfold. The mat that the invitiation is on is more cardstock from PaperSource in Chartreuse, cut to 4 3/4" x 6 3/4". The invitation itself is cut to 4.5"x6.5". The inserts are sized to fit in the pocket, but I don't remember their exact dimensions currently. The RSVP insert is a little narrower than the others, but that's because the envelope is 3.5" wide (regulation smallest size by USPS) and I needed it to wrap around the RSVP card and still fit in the pocket.
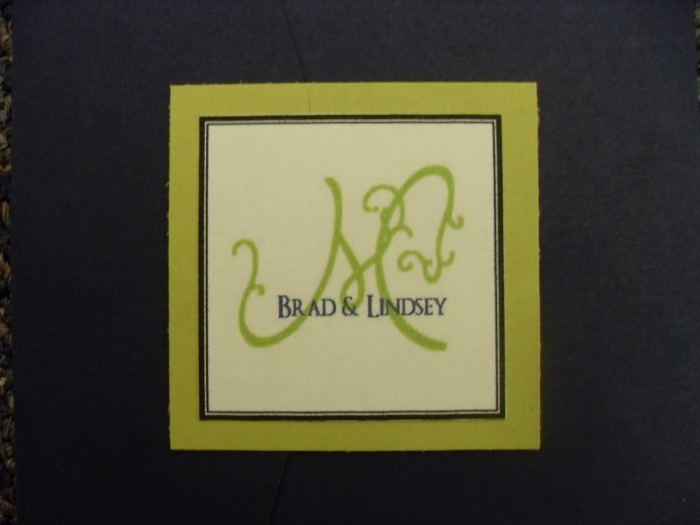
The pocketfolds are closed by a simple 2"x2" cardstock square in chartreuse, with a monogram square on top of that. The square is permanently stuck to one side of the invitation, with a removeable glue dot on the right side so guests can open the invitation without taking the square off entirely. Labor of love indeed, but I got EXACTLY what I wanted.
Sorry for all the annoying white boxes. Privacy, you know. :-)
Wedding Invitation
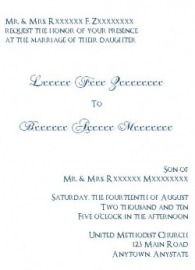
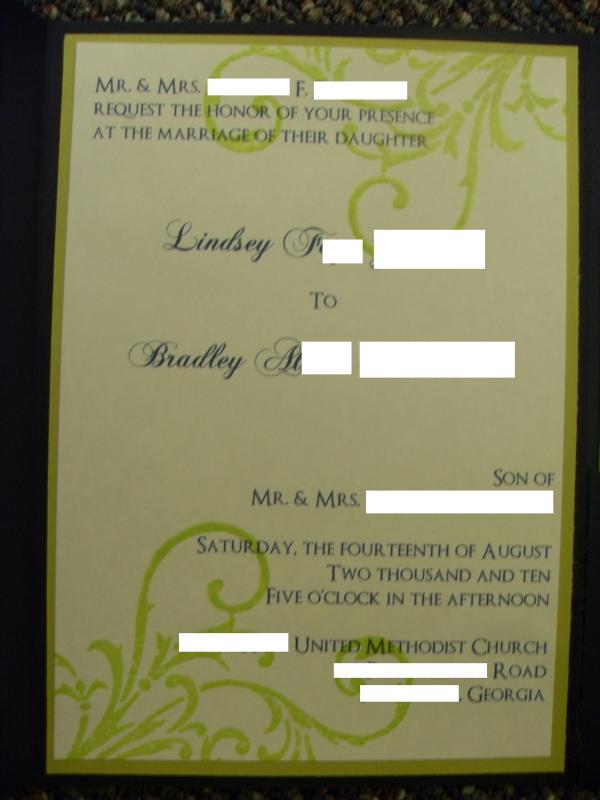
Fonts are Chopin Script and Optimus Princeps.
I have a flourish stamp that I plan to use and emboss to give the invitation suite some depth. Hopefully will have mockups done soon. Stamp will be bright green.
Designed by me. Sized to print 2 on an 8.5 x 11 piece of paper.
I have a flourish stamp that I plan to use and emboss to give the invitation suite some depth. Hopefully will have mockups done soon. Stamp will be bright green.
Designed by me. Sized to print 2 on an 8.5 x 11 piece of paper.
| my_invitation_for_pocketfold_-_no_printed_flourish_-_edited.doc |
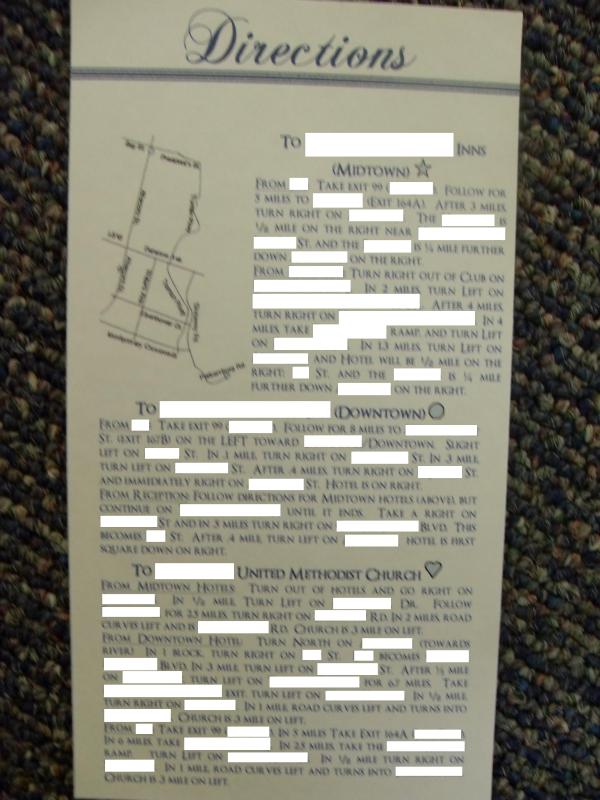
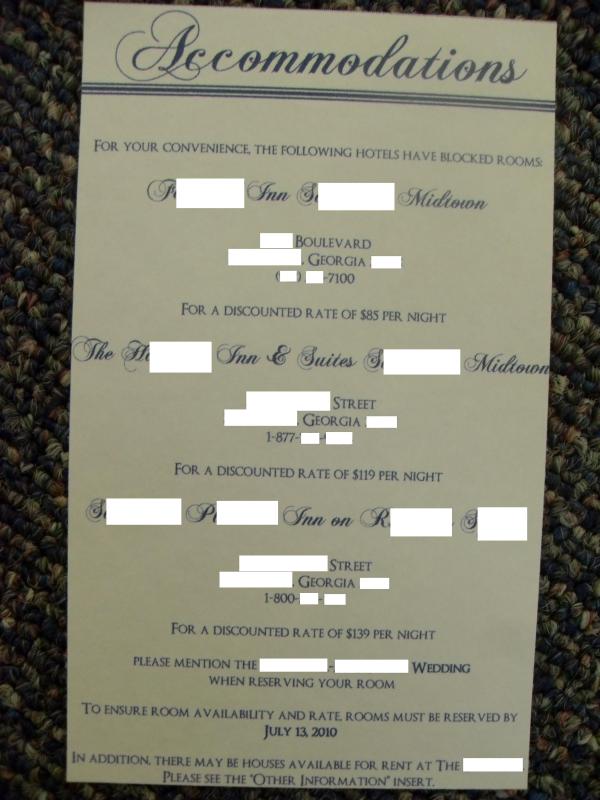
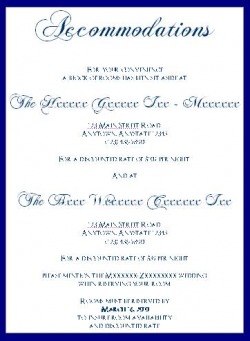
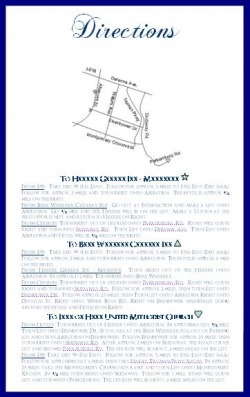
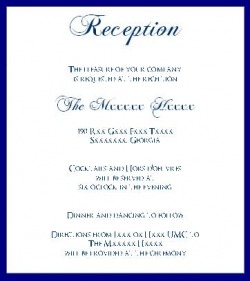
Inserts (besides RSVP - that's below)
Fonts are Chopin Script and Optimus Princeps.
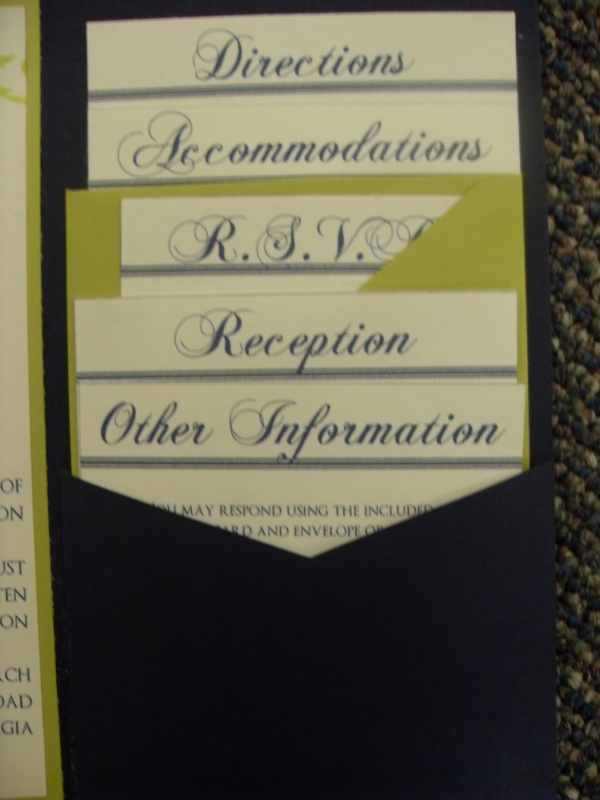
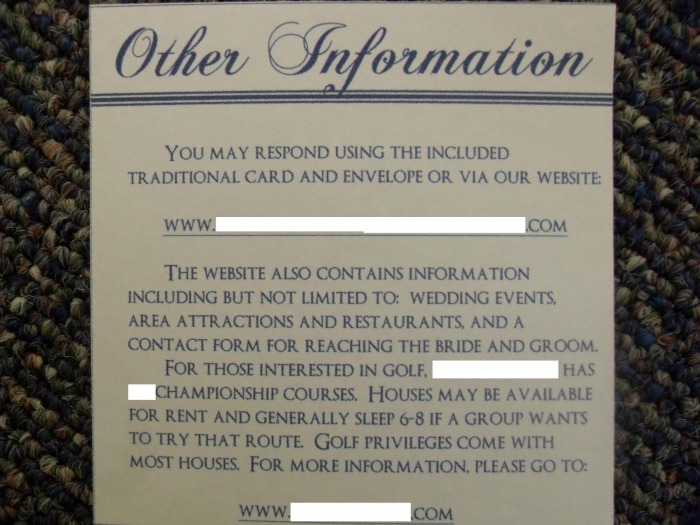
Template credit to ChiMonique. Template is arranged so that all four inserts print on one 8.5 x 11 sheet of paper.
The blue is the "pocketfold", not part of the inserts.
Template credit to ChiMonique. Template is arranged so that all four inserts print on one 8.5 x 11 sheet of paper.
The blue is the "pocketfold", not part of the inserts.

| my_inserts_for_pocketfold_edited.doc |
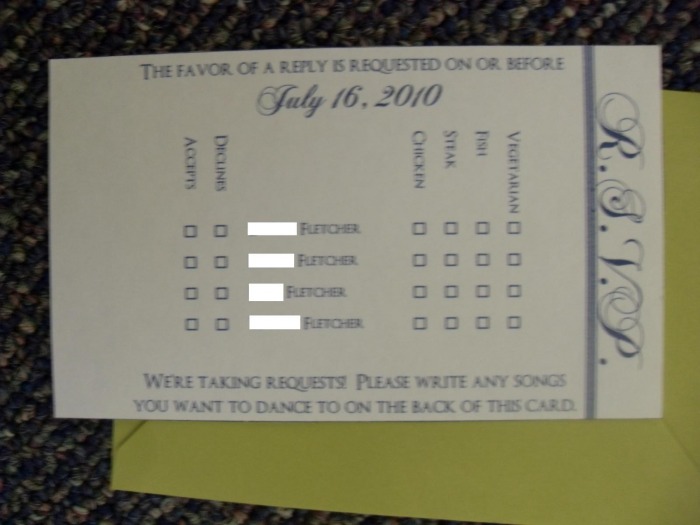
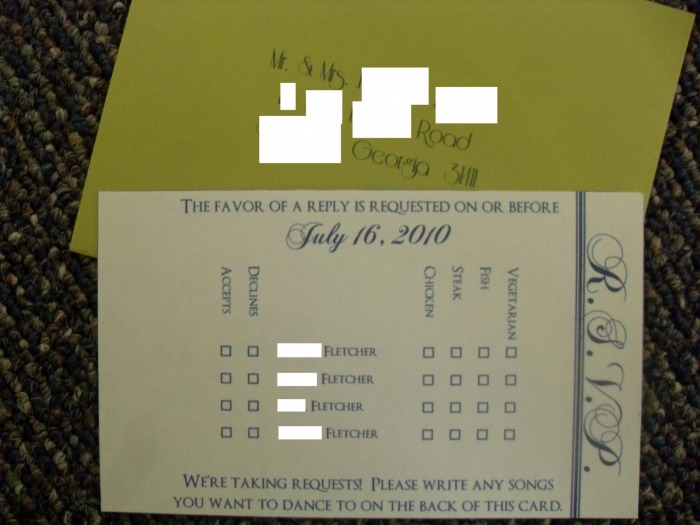
RSVP Insert
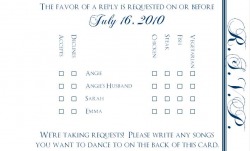
RSVP. These are sized to print 4 to a page in "Landscape" setting and to fit in the pocket with the rest of the inserts. The envelope fits in the pocket behind the RSVP card with the other inserts.
Fonts are Chopin Script and Optimus Princeps.
Designed by me.
Fonts are Chopin Script and Optimus Princeps.
Designed by me.
| rsvp_insert_-_edited.ppt |
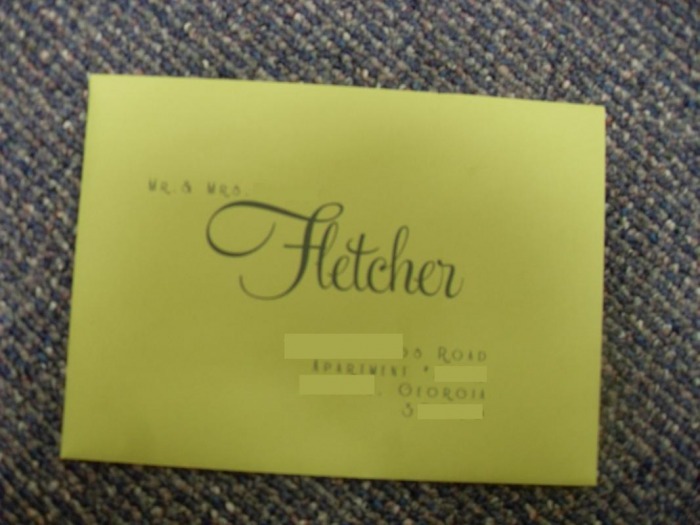
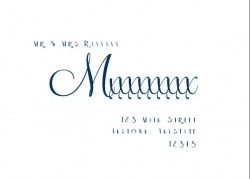
Outer Envelope Template
Template credit to Riss91.
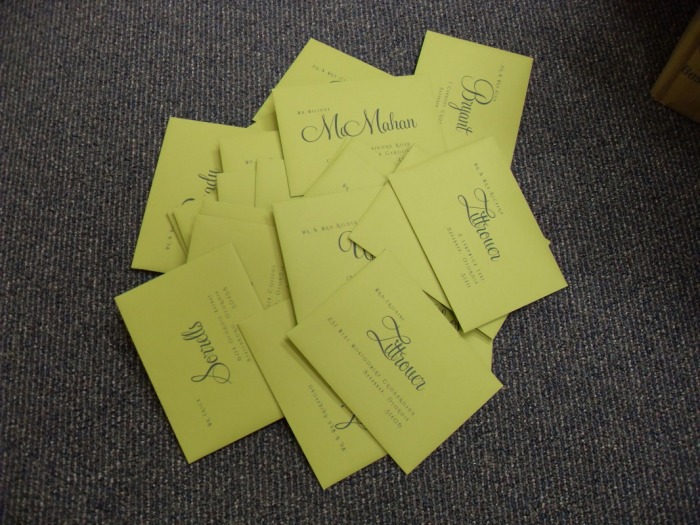
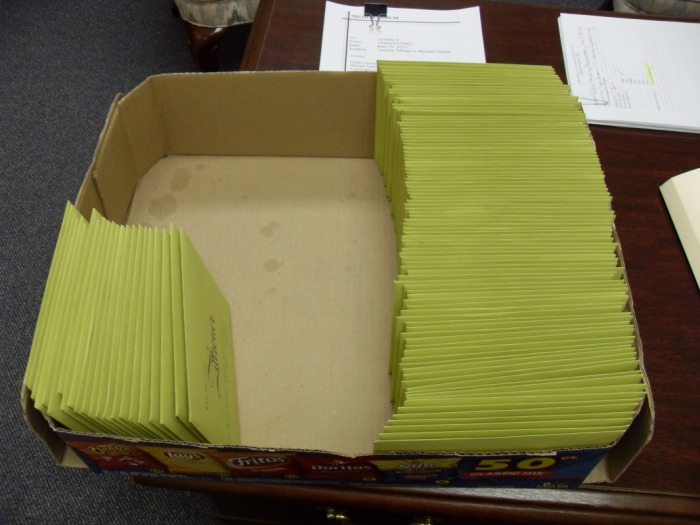
This is the normal address template created based on Riss91's downloadable template. I also have templates for Apartments (the 4 line template Riss91 created) and two people with different last names in the same house (that I created by modifying my basic template).
These templates require Feel Script and Riesling fonts to work.
| outer_envelope_template.doc |
| outer_envelope_template_with_2_people_in_house.doc |
| outer_envelope_template_with_4_lines.doc |
Rehearsal Dinner Invitation

Template credit to Riss91.
Pretty self-explanatory. Font is New Yorker and the Flourish is Nymphette font (don't remember which letter). The blue trim is going to be a blue mat in the same cardstock used for the pocketfolds. Entire card will be sized to 5x7 to fit in a regular envelope.
Pretty self-explanatory. Font is New Yorker and the Flourish is Nymphette font (don't remember which letter). The blue trim is going to be a blue mat in the same cardstock used for the pocketfolds. Entire card will be sized to 5x7 to fit in a regular envelope.
| my_rehearsal_dinner_invite_edited.doc |
Rehearsal Invitation

This will be stuck in the envelope with the Rehearsal Dinner Invitation, but obviously only to those people that actually need to be at the Rehearsal.
| rehearsal_invite_edited.doc |
