DIY, or Do-It-Yourself
Below is my master DIY list. As projects get finished, they will get removed from the list and pictures of the completed projects will be posted. Also check "I Can Even Make Paper Stuff" and "Labor of Love" for more DIY stuff.
Monogram #1
Monogram #1. Not sure what we're going to use this on other than the waterbottles. Maybe some stamps or the front of the program? The crazy font is Platthand, and the download below is the file for it. Or you can go to DaFont.com and download from there.
| pld_____.ttf |
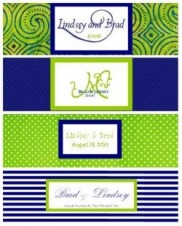
Monogram #2

Monogram #2. The more square shape lends better to using it. This is on our photoshare cards, the menus, and is the square that closes our pocketfolds. I also plan to use it on the aisle runner. The crazy "M" is Jellyka font.
| jellyka_endless_voyage.ttf |
Guestbook
I designed this in Blurb using their BookSmart software, and it was relatively painless, even for a complete newb like me.
All photo credit to Nate and Laura Henderson of Open Light Studio in Savannah, GA.
The badge below *shoud* link you to a preview of the book.
All photo credit to Nate and Laura Henderson of Open Light Studio in Savannah, GA.
The badge below *shoud* link you to a preview of the book.

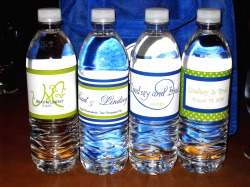
Water Bottle Labels
Credit to JenandJeff2009 for the template. All I did was tweak what she had available for download and use my monograms.
Aside from the fonts used for my monograms, which can be found on the "I Can Make Paper Stuff" tab, the fonts used for the waterbottles were already in MS Office.
Aside from the fonts used for my monograms, which can be found on the "I Can Make Paper Stuff" tab, the fonts used for the waterbottles were already in MS Office.
| water_bottle.doc |
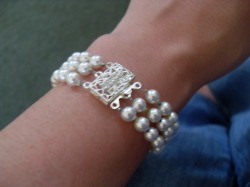
Pearl 3-Strand Bracelet
Materials:
Beading wire - I used about 15" and then cut off the excess after I got it fitted properly
Crimp beads - 6 (2 on each strand)
Pearl Beads - 21 on each strand
Green and blue seed beads (you can leave these out or use whatever color you want)
A 3-strand clasp (I found mine at Hobby Lobby)
Scissors or wire cutters
Needlenose pliers
Directions:
1. Cut your 15" length of wire.
2. Thread one end through a crimp bead, around the ring in the clasp, then back through the crimp bead. Pull tight then close crimp bead with pliers.
3. Begin threading pearls and seed beads however you want onto the wire. I used 21 pearls, with a seed bead in between each pearl, but you can make it longer or shorter depending on how small/large your wrist is.
4. Close the other end around the opposite ring in the clasp, using crimp beads like you ddi in step 2, above. It is helpful to have the clasp closed so you can easily tell which ring to attach the strand to so you don't end up with criss-crossing strands. It may also be helpful to start in the middle and then do the outside strands; whatever is easiest for you!
5. Cut off any excess wire hanging out of the crimp bead.
6. Repeat for other strands.
Cost:
I used the beading wire and crimp beads that I had leftover from the bridesmaids' necklaces (below), so that's not included.
I used a higher quality pearl bead than the necklaces, and had to buy three packages of 25: $9
2 things of seed beads (one blue, one green): $2
The clasp: $5
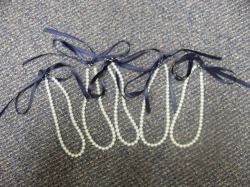
Bridesmaids' Ribbon-tie Pearl Necklaces
Materials:
Beading wire - 20" per necklace
Crimp beads - 2 per necklace
Jump rings - 2 per necklace
Glass pearl Beads - 50 per necklace
Ribbon (I used 1/4" width) - 24" per necklace
Scissors or wire cutters
Needlenose pliers
Directions:
1. Cut your 20" length of wire.
2. Thread one end through a crimp bead, then through a jump ring, then back through the crimp bead. Pull tight then close crimp bead with pliers.
3. Thread pearl beads onto necklace. I used 50, but your can use more or less depending on how long you want the necklace to be, or if you want a bracelet, etc.
4. After you have your pearls on the wire, close the other end the same way you did the first end in Step 2.
5. Cut your ribbon and thread through the jump rings. Tie in a pretty bow. You may want to burn the edges of the ribbon to keep them from fraying.
Total cost breakdown:
Beading wire (and I have some left over): $1.97
100 Assorted size jump rings: $1.97
100 Crimp Beads: $1.97
1/4" navy ribbon (and I have a some left over, may use on card box): $.47
324 Glass pearl beads (3 packages of 108): $5.91
Total = $12.29
Total cost per bridesmaid (I have 5) = $2.46
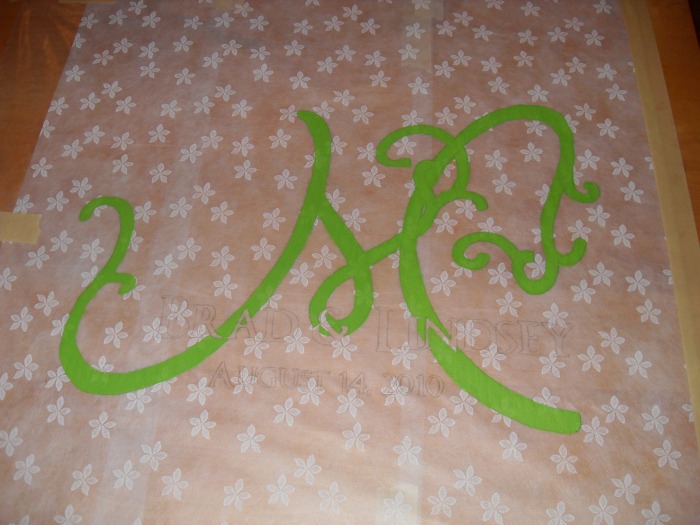
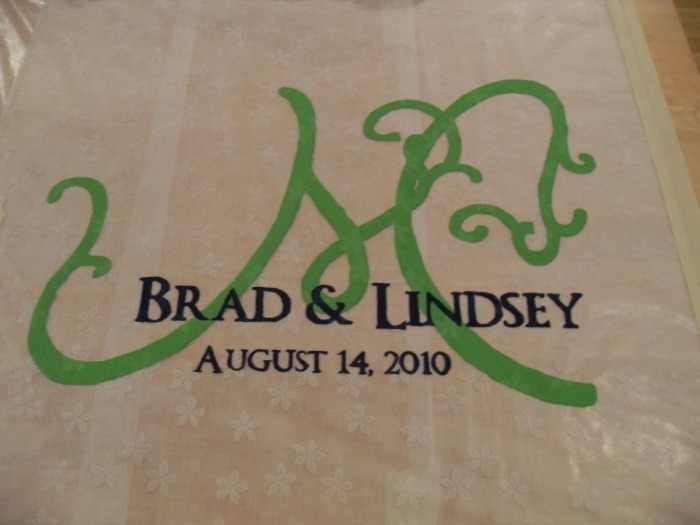
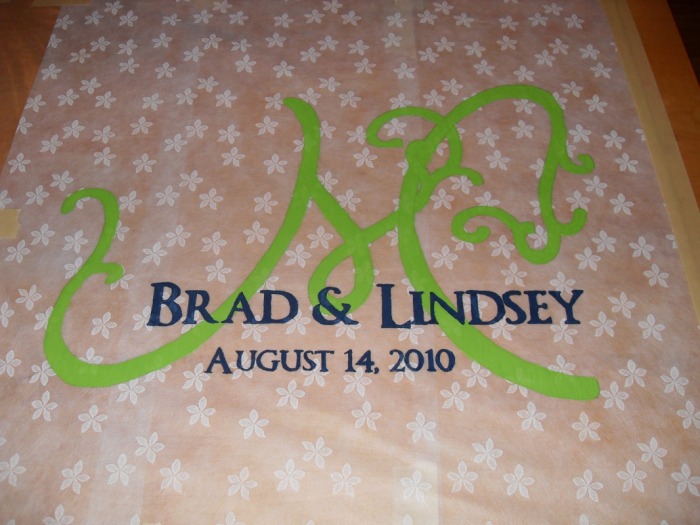
Aisle Runner
I really like the look of custom aisle runners, but I wasn't willing to pay the $80-200 for one. So I bought a runner and paint from Wal-Mart and had Office Max enlarge my monogram to where the width was 34" (just slightly less than the width of the runner - 36"), and got to tracing and painting.
1) Tape monogram to table so it doesn't move
2) Tape runner over it so it also doesn't move
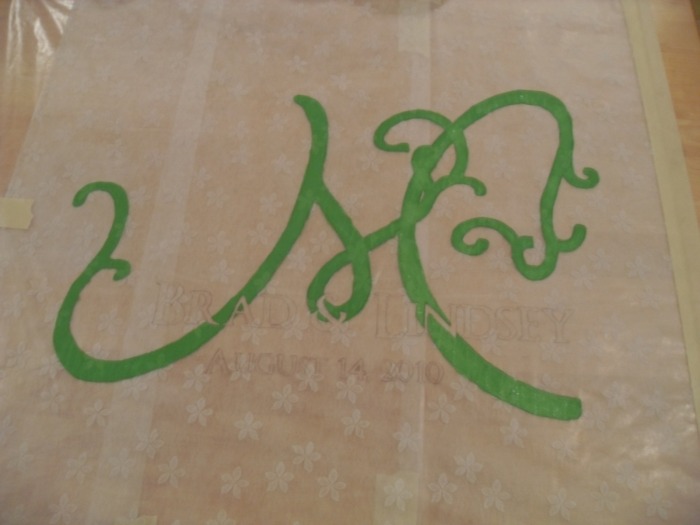
3) Trace with pencil. This is one area I kinda messed up in. Trace as LIGHTLY as possible. I'm going to have to use at least three coats of the green so you can't see the pencil marks.
4) Remove monogram from under runner, and cover table under runner with wax paper. The paint will leak through the runner, so this protects your table. Tape wax paper in place.
5) Re-tape runner on top, and start painting in the lines. I started at the top and moved down, so I wouldn't drag my elbow through wet paint.
Runner: $20
Blown-up monogram: $20
Paint and brushes: $5, but I can use it for lots of stuff
We'll say this project costs $41 total, and took 2 nights of work
1) Tape monogram to table so it doesn't move
2) Tape runner over it so it also doesn't move
3) Trace with pencil. This is one area I kinda messed up in. Trace as LIGHTLY as possible. I'm going to have to use at least three coats of the green so you can't see the pencil marks.
4) Remove monogram from under runner, and cover table under runner with wax paper. The paint will leak through the runner, so this protects your table. Tape wax paper in place.
5) Re-tape runner on top, and start painting in the lines. I started at the top and moved down, so I wouldn't drag my elbow through wet paint.
Runner: $20
Blown-up monogram: $20
Paint and brushes: $5, but I can use it for lots of stuff
We'll say this project costs $41 total, and took 2 nights of work
Baskets of Sparklers
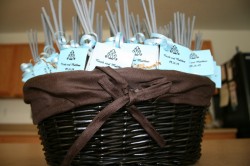
This is the inspiration for mine. My mom stole my baskets, sparklers, and matches to put them together because she was dying for something to do, so hopefully they will look just like these except in Navy blue and Lime green.
I found two baskets on sale at Hobby Lobby; one was bright blue with a bright blue lining, the other lime green. I spray painted the bright blue one darker and dyed the lining navy, and hopefully will have pictures of them sometime before the wedding.
I found two baskets on sale at Hobby Lobby; one was bright blue with a bright blue lining, the other lime green. I spray painted the bright blue one darker and dyed the lining navy, and hopefully will have pictures of them sometime before the wedding.
